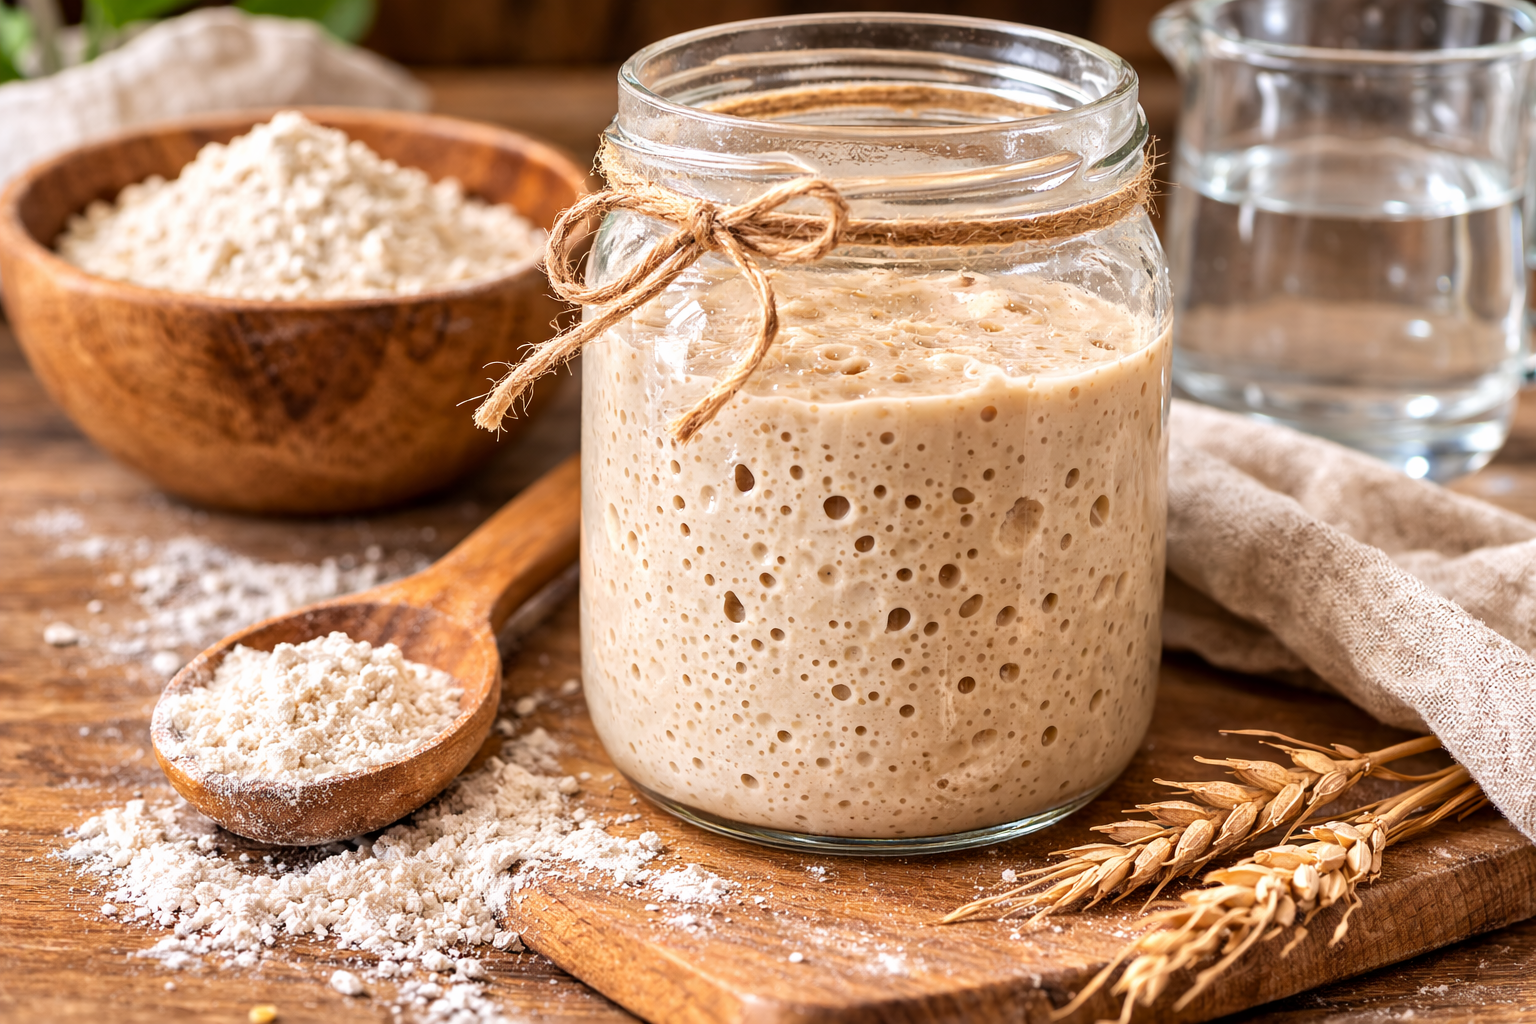
Simple Sourdough Starter Recipe from Scratch
Build a lively, tangy sourdough starter with just flour, water, and patience. This clear, step-by-step guide helps you create a reliable wild-yeast culture for baking crusty loaves and tender sourdough breads.
About This Recipe
💡 tips
Use a digital scale for consistent feeding by weight. Warmer temperatures speed fermentation; cooler temperatures slow it. Keep a discard jar for recipes (pancakes, crackers). If you need faster development, start with part rye or whole-grain flour for the first 2–3 days.
🔄 substitutions
For gluten-free options, use a gluten-free flour blend and expect different activity — consider adding fermented gluten-free flours like buckwheat or teff. If whole wheat is unavailable, use all-purpose flour; rye can be substituted with spelt to boost fermentation. Always avoid any alcoholic ingredients — no beer, wine, or spirits — and never use pork-derived additives.
📦 storage
Store starter in the refrigerator in a loosely covered jar if not used daily. Feed it at least once per week: remove, discard half, feed with equal weights of flour and water, let sit a few hours, then return to fridge. For long-term storage, dry a thin layer of starter on parchment and store flakes in an airtight container, or freeze a portion of well-fed starter in a sealed jar for several months.